11.10.2 Packet Tracer – Design and Implement a VLSM Addressing Scheme – Physical Mode
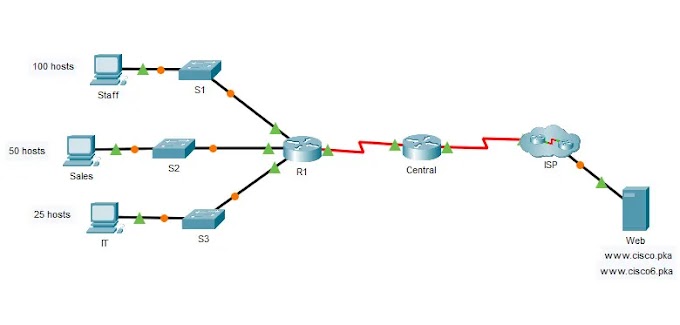
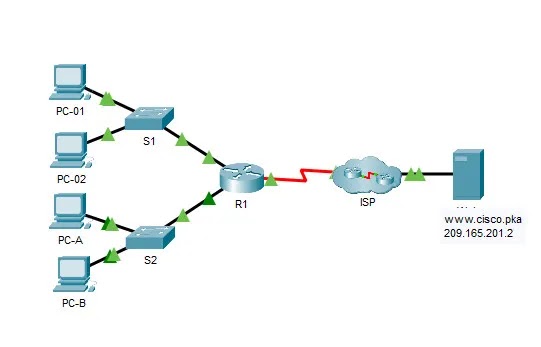
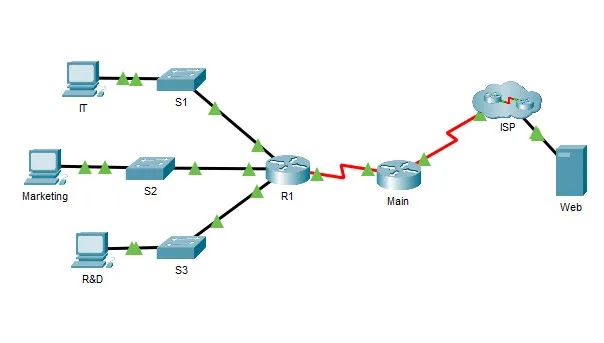
Topology
Objectives
- Part 1: Examine Network Requirements
- Part 2: Design the VLSM Address Scheme
- Part 3: Cable and Configure the IPv4 Network
Background / Scenario
Variable Length Subnet Mask (VLSM) was designed to avoid wasting IP addresses. With VLSM, a network is subnetted and then re-subnetted. This process can be repeated multiple times to create subnets of various sizes, based on the number of hosts required in each subnet. Effective use of VLSM requires address planning.
In this Packet Tracer Physical Mode (PTPM) activity, use the 192.168.33.128/25 network address to develop an address scheme for the network that is displayed in the topology diagram. Use VLSM to meet the IPv4 addressing requirements. After you have designed the VLSM address scheme, you will configure the interfaces on the routers with the appropriate IP address information. The future LANS at BR2 will need to have addresses allocated, but no interfaces will be configured at this time.
Instructions
Part 1: Examine Network Requirements
In this part, you will examine the network requirements to develop a VLSM address scheme for the network that is displayed in the topology diagram using the 192.168.33.128/25 network address.
Step 1: Determine how many host addresses and subnets are available.
How many host addresses are available in a /25 network?
126
What is the total number of host addresses needed in the topology diagram?
80
How many subnets are needed in the network topology?
6
Step 2: Determine the largest subnet.
What is the subnet description (e.g. BR1 LAN or BR1-BR2 link)?
BR1 LAN
How many IP addresses are required in the largest subnet?
40
What subnet mask can support that many host addresses?
/26 or 255.255.255.192
How many total host addresses can that subnet mask support?
62
Can you subnet the 192.168.33.128/25 network address to support this subnet?
Yes
What are the network addresses that would result from this subnetting?
192.168.33.128/26 and 192.168.33.192/26
Use the first network address for this subnet.
Step 3: Determine the second largest subnet.
What is the subnet description?
BR2 LAN
How many IP addresses are required for the second largest subnet?
25
What subnet mask can support that many host addresses?
/27 or 255.255.255.224
How many total host addresses can that subnet mask support?
30
Can you subnet the remaining subnet again and still support this subnet?
Yes
What are the network addresses that would result from this subnetting?
192.168.33.192/27 and 192.168.33.224/27
Use the first network address for this subnet.
Step 4: Determine the third largest subnet.
What is the subnet description?
BR2 IoT LAN
How many IP addresses are required for the next largest subnet?
5
What subnet mask can support that many host addresses?
/29 or 255.255.255.248
How many total host addresses can that subnet mask support?
6
Can you subnet the remaining subnet again and still support this subnet?
Yes
What are the network addresses that would result from this subnetting?
192.168.33.224/29, 192.168.33.232/29, 192.168.33.240/29, and 192.168.33.248/29
Use the first network address for this subnet.
Use the second network address for the CCTV LAN.
Use the third network address for the HVAC C2 LAN.
Step 5: Determine the fourth largest subnet.
What is the subnet description?
BR1-BR2 Link
How many IP addresses are required for the next largest subnet?
2
What subnet mask can support that many host addresses?
/30 or 255.255.255.252
How many total host addresses can that subnet mask support?
2
Can you subnet the remaining subnet again and still support this subnet?
Yes
What are the network addresses that would result from this subnetting?
192.168.33.248/30 and 192.168.33.252/30
Use the first network address for this subnet.
Part 2: Design the VLSM Address Scheme
In this part, you will document the VLSM addressing scheme.
Step 1: Calculate the subnet information.
Use the information that you obtained in Part 1 to fill in the following table.
| Subnet Description | Number of Hosts Needed | Network Address /CIDR | First Host Address | Broadcast Address |
|---|---|---|---|---|
| BR1 LAN | 40 | 192.168.33.128/25 | 192.168.33.129 | 192.168.33.191 |
| BR2 LAN | 25 | 192.168.33.192/27 | 192.168.33.193 | 192.168.33.223 |
| BR2 IoT LAN | 5 | 192.168.33.224/29 | 192.168.33.225 | 192.168.33.231 |
| BR2 CCTV LAN | 4 | 192.168.33.232/29 | 192.168.33.233 | 192.168.33.239 |
| BR2 HVAC C2LAN | 4 | 192.168.33.240/29 | 192.168.33.241 | 192.168.33.247 |
| BR1-BR2 Link | 2 | 192.168.33.248/30 | 192.168.33.249 | 192.168.33.251 |
Step 2: Complete the device interface address table.
Assign the first host address in the subnet to the Ethernet interfaces. BR1 should be assigned the first host address in the BR1-BR2 Link.
| Device | Interface | IP Address | Subnet Mask | Device Interface |
|---|---|---|---|---|
| BR1 | G0/0/0 | 192.168.33.249 | 255.255.255.252 | BR1-BR2Link |
| BR1 | G0/0/1 | 192.168.33.129 | 255.255.255.192 | 40Host LAN |
| BR2 | G0/0/0 | 192.168.33.250 | 255.255.255.252 | BR1-BR2Link |
| BR2 | G0/0/1 | 192.168.33.193 | 255.255.255.224 | 25Host LAN |
Part 3: Cable and Configure the IPv4 Network
In this part, you will cable the network to match the topology. You will configure the three routers using the VLSM address scheme that you developed in Part 2.
Step 1: Cable the network.
a. In the main wiring closet, click and drag the routers and switches from the inventory shelf to the rack.
b. Cable the network as shown in the topology and power on the devices as necessary.
Step 2: Configure basic settings on each router.
a. Establish a console connection between a router and the PC on the table.
b. From the terminal window on the PC, establish a terminal session to the router.
c. Assign the correct device name to each of the two routers.
Router(config)# hostname BR1

Router(config)# hostname BR2
d. Assign class as the privileged EXEC encrypted password for both routers.
BR1(config)# enable secret class

BR2(config)# enable secret class
e. Assign cisco as the console password and enable login for the routers.
BR1(config)# line con 0
BR1(config-line)# password cisco
BR1(config–line)# login

BR2(config)# line con 0
BR2(config-line)# password cisco
BR2(config–line)# login
f. Assign cisco as the vty password and enable login for the routers.
BR1(config)# line vty 0 4
BR1(config-line)# password cisco
BR1(config-line)# login

BR2(config)# line vty 0 4
BR2(config-line)# password cisco
BR2(config-line)# login
g. Encrypt the plaintext passwords for the routers.
BR1(config)# service password-encryption

BR2(config)# service password-encryption
h. Create a banner that will warn anyone accessing the device that unauthorized access is prohibited on both routers.
BR1(config)# banner motd $ Unauthorized Access is Prohibited $

BR2(config)# banner motd $ Unauthorized Access is Prohibited $
Step 3: Configure the interfaces on each router.
a. Assign an IP address and subnet mask to each interface using the table that you completed in Part 2.
BR1(config)# interface g0/0/0
BR1(config-if)# ip address 192.168.33.249 255.255.255.252
BR1(config-if)# interface g0/0/1
BR1(config-if)# ip address 192.168.33.129 255.255.255.192

BR2(config)# interface g0/0/0
BR2(config-if)# ip address 192.168.33.250 255.255.255.252
BR2(config-if)# interface g0/0/1
BR2(config-if)# ip address 192.168.33.193 255.255.255.224
b. Configure an interface description for each interface.
BR1(config)# interface g0/0/0
BR1(config-if)# description BR1-BR2 Link
BR1(config-if)# interface g0/0/1
BR1(config-if)# description Connected to S1

BR2(config-if)# interface g0/0/0
BR2(config-if)# description BR1-BR2 Link
BR2(config-if)# interface g0/0/1
BR2(config-if)# description Connected to S2
c. Activate the interfaces.
BR1(config)# interface g0/0/0
BR1(config-if)# no shutdown
BR1(config-if)# interface g0/0/1
BR1(config-if)# no shutdown

BR2(config)# interface g0/0/0
BR2(config-if)# no shutdown
BR2(config-if)# interface g0/0/1
BR2(config-if)# no shutdown
Step 4: Save the configuration on all devices.
BR1# copy running-config startup-config

BR2# copy running-config startup-config
Step 5: Test connectivity.
a. From BR1, ping G0/0/0 interface on BR2.
b. From BR2, ping G0/0/0 interface on BR1.
c. Troubleshoot connectivity issues if pings were not successful.
Note: Pings to the GigabitEthernet LAN interfaces on other routers will not be successful. A routing protocol needs to be in place for other devices to be aware of those subnets. The GigabitEthernet interfaces also need to be in an up/up state before a routing protocol can add the subnets to the routing table. The focus of this lab is on VLSM and configuring the interfaces.
Reflection Question
Can you think of a shortcut for calculating the network addresses of consecutive /30 subnets?
Answers may vary. A /30 network has 4 address spaces: the network address, 2 host addresses, and a broadcast address. Another technique for obtaining the next /30 network address would be to take the network address of the previous /30 network and add 4 to the last octet.


